Ok. I made a cherpumple and I'm proud of it! To all those who are saying "what the heck is a cherpumple?!" here it is: an apple pie inside a vanilla cake, cherry pie inside chocolate cake, and pumpkin pie inside spice cake (it's no wonder they call it the dessert Turducken!). I did a lot of research before undertaking this baking task. I had heard of the cherpumple, but wasn't exactly sure how such a thing was accomplished. Here is the inside cross-section of my finished (and half-eaten) cake:
I will post a few more pics soon!
First thing's first:
INGREDIENTS
I purchased 3 pre-made pies from the grocery store. There are a number of benefits to purchasing them, namely it takes a lot less time, they're sturdier, and they're the perfect size. Most store-bought pies are 9", which is ideal. Then you need 3 box cake mixes: yellow, chocolate, and spice. You can make your own, but it would take a significant amount of time and ingredients. It took me 6 hours to make as it was!
INSTRUCTIONS
One of the best pieces of advice I found was to use a 10" springform pan. Follow the directions on the box for the cakes. You want to cook each one individually. If you don't it will take even longer to cook and will likely result in uneven cooking. Again, you're doing an apple pie in vanilla cake, cherry pie in chocolate cake, and pumpkin pie in spice cake. It doesn't matter what order they're done in, although I found that the pumpkin seemed to ooze up a little so didn't seem as strong as the others and I ended up putting it on top.
Prepare the first cake mix according to box directions. Spray/coat the springform pan (I used Pam). Pour a small amount of cake mix into the bottom of the pan to coat it. Carefully place the pie in the center of the pan. Pour the cake mix around the pie and on top. If it isn't completely covered, don't worry, the cake will rise and cover the pie. I cooked each cake for around 1 hour and 15 minutes. It takes a long time! You want the cakes to be on the done side. Not burned, but brown. The center needs to be firm and not jiggly. Repeat this process with all three cakes/pies.
I removed the pan from the cake as soon as it was cool enough to touch and put the cake on a wire rack to cool. It took much longer to cool than a regular cake, at least 2 hours for each.
If your cakes are not level, take a long icing spatula and cut off the top to level.
ASSEMBLY
Before I talk about assembly, we can't forget the frosting. I used cream cheese frosting (recipe below). It was good, but I will likely try a regular buttercream next time. I'm not sure if the cream cheese went with everything as well as I thought, but it wasn't bad!
Place the first cooled layer on a cake stand. Ice the top layer, then carefully place the next layer on top. Ice that layer then put the top layer on. Ice the sides and top of the cake completely. It will take about 2 batches of the frosting recipe I supplied. I hate store-bought frosting so I made my own, but I'm sure it would turn out fine for you if you used it. You would likely need 3-4 jars.
Cream Cheese Frosting - if you use this recipe for the entire cake double all the amounts
2 - 8oz packages cream cheese
1 stick butter soft (1/2 cup)
2 cups confectioner's sugar
1 tsp. vanilla
Mix cream cheese, butter and sugar until blended and smooth. Blend in vanilla. Voila!
Enjoy your Cherpumple experience! I know I did! If you have any suggestions or comments, please share them with me!
These are the various sites I got Cherpumple info from: Eating Out Party Blog; Wall Street Journal; Delish
Monday, November 14, 2011
Wednesday, November 2, 2011
Hello Fall!
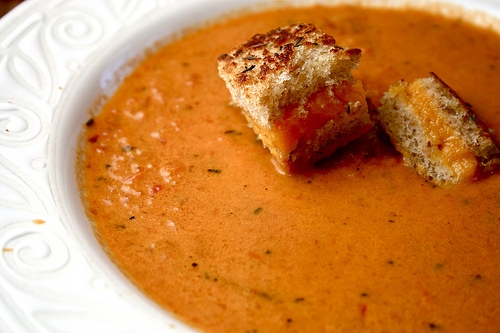
I just love fall. Even here in Southern California, it starts to cool down and you can feel the change in seasons. Some of the things I love for fall are all things pumpkin, boots, skinny jeans, chunky sweaters, warm apple dishes, tomato soup and pumpkin spice scented candles! Here are some of my inspirations this season:
 |
| Source: Made by Lex |
 |
| Source: The Hungry Housewife |
 |
| Source: SAS Interiors |
Subscribe to:
Posts (Atom)

